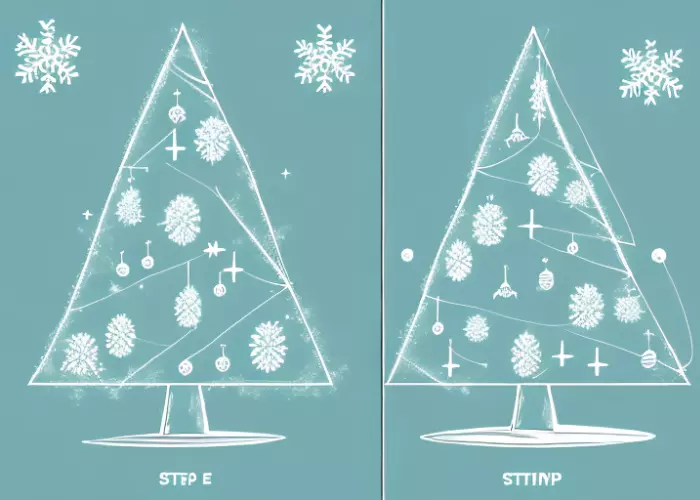
Learn How to Draw a Christmas Tree in 5 Easy Steps

Are you feeling festive and looking to add some holiday cheer to your art?
In this blog, we will guide you through the process of drawing a Christmas tree in just five easy steps. Whether you're a seasoned artist or a beginner, this step-by-step tutorial will help you master the art of drawing a perfect Christmas tree.
Jump To Section

Earn As You Learn
Earn 25% commission when your network purchase Uplyrn courses or subscribe to our annual membership. It’s the best thing ever. Next to learning,
of course.
Drawing a Christmas Tree: A Simple 5 Step Process
Are you ready to bring the holiday spirit to life with your very own hand-drawn Christmas tree? Get your pencils and paper ready, because we're about to embark on a creative journey that will leave you with a beautiful masterpiece to display in your home. In this step-by-step guide, we will walk you through the process of drawing a Christmas tree, from creating the basic shape to adding the finishing touches.
Before we dive into the artistic process, let's make sure we have all the necessary materials. Grab a pencil, eraser, a blank sheet of paper, and some coloured pencils or markers to add that extra pop of colour to your creation. With these tools in hand, you're ready to unleash your creativity and bring your Christmas tree to life.
Step 1: Creating the Tree Shape
Every great artwork starts with a solid foundation, and your Christmas tree is no exception. Begin by drawing a vertical line that will serve as the trunk of your tree. This line will be the backbone of your masterpiece, so take your time to make it straight and sturdy. Once you have your trunk in place, draw two slanted lines that converge at the top, forming an upside-down triangle shape. This triangle will be the base of your tree, providing a solid structure for the branches to come.
Step 2: Adding Branches
Now that you have the basic shape of your tree, it's time to add some branches. Draw several diagonal lines extending from the sides of the triangle shape, starting from the bottom and moving upward. These lines will represent the different layers of branches, giving your tree a lush and full appearance. Don't be afraid to vary the length and angle of the branches to create a more natural and organic look.
Step 3: Decorating with Ornaments
No Christmas tree is complete without a touch of sparkle and shine. It's time to unleash your inner artist and add some beautiful ornaments to your tree. Grab your coloured pencils or markers and draw various shapes such as circles, stars, and baubles across the branches of your tree. Let your imagination run wild as you experiment with different designs, sizes, and colours. Remember, this is your tree, so feel free to get creative and make it uniquely yours.
Step 4: Adding the Tree Trunk
To make your tree appear more realistic, let's add a trunk. Draw a vertical rectangle at the base of the vertical line you initially drew. This rectangle will serve as the trunk of your tree, grounding it and giving it a sense of stability. To add some texture and detail, draw horizontal lines across the trunk, mimicking the natural patterns found in real tree trunks. This small addition will make a big difference in the overall appearance of your artwork.
Step 5: Colouring and Shading
Now comes the fun part – adding colour to your masterpiece! Take out your coloured pencils or markers and bring your Christmas tree to life. Start by filling in the tree and trunk with shades of green and brown, respectively. Use light strokes to create a sense of depth and dimension. For a more realistic look, add shading by using darker shades on the undersides of the branches and lighter shades on the upper portions. This simple technique will make your tree come alive, as if it's standing right in front of you.
And there you have it – a step-by-step guide to drawing a Christmas tree. With a little bit of patience, creativity, and attention to detail, you can create a beautiful artwork that captures the essence of the holiday season. So, grab your materials, find a cozy spot, and let your imagination run wild. Happy drawing!
Add a Festive Touch to Your Art with a Christmas Tree Drawing
Whether you're working on a greeting card, a holiday-themed art project, or just want to create some festive decorations, a Christmas tree drawing is the perfect addition. With a few simple steps, you can transform your artwork and add a touch of holiday magic.
Unlock Your Inner Artist and Draw a Christmas Tree in 5 Steps
Drawing a Christmas tree may seem daunting at first, but with these five easy steps, you'll unlock your inner artist and create a stunning masterpiece. So let your creativity soar and embrace the joy of drawing a Christmas tree this holiday season.
For creative online courses, click here.


Leave your thoughts here...
All Comments
Reply