Jenkins CI/CD Processes: Installation & Plugin Fixes

Jenkins is an open-source automation server that plays a vital role in the world of software development. The primary reason for its necessity is its ability to streamline the Continuous Integration (CI) and Continuous Deployment (CD) processes. Jenkins automates various stages of the delivery pipeline, which makes it easier for developers to integrate changes to the project, and for users to obtain a fresh build.
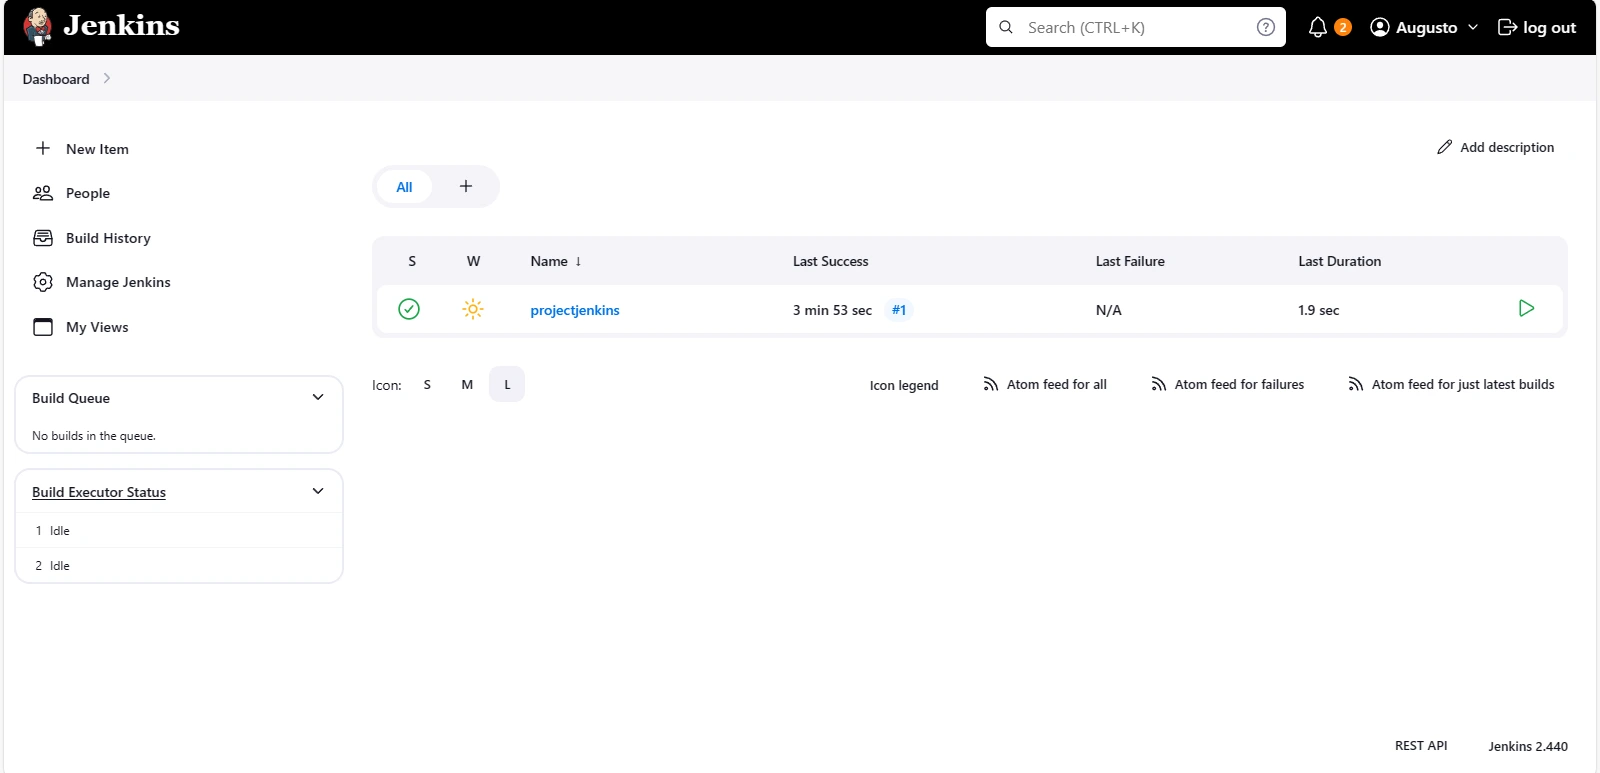
To use Jenkins, one needs to follow certain installation steps. Firstly, Jenkins requires Java to be installed on the system, as it runs in a Java Virtual Machine (JVM). Once Java is set up, Jenkins can be downloaded from its official website. The installation process varies based on the operating system — Windows, macOS, or Linux. After installation, Jenkins can be launched through a web browser where the initial setup is completed by installing necessary plugins and configuring system parameters. Users can then create new Jenkins projects and configure their build, test, and deployment pipelines.
Jump To Section

Earn As You Learn
Earn 25% commission when your network purchase Uplyrn courses or subscribe to our annual membership. It’s the best thing ever. Next to learning,
of course.
How to Fix Common Plugin and Dependency Issues?
Install the Missing Dependency
- Navigate to Jenkins’ dashboard
- Go to ‘Manage Jenkins > Manage Plugins
- Switch to the ‘Available’ tab and search for dependency
- Check the box next to the plugin and install it
If you can’t find it in the ‘Available’ tab, it may be because it’s already installed but disabled, in which case you should:
- Switch to the ‘Installed’ tab
- Locate the dependency and check if it’s disabled
- If it’s disabled, select the plugin and enable it
Ensure Plugin Compatibility
Make sure that the version of the plugin you are installing is compatible with the versions of the related plugins.
Jenkins is a powerful tool that significantly contributes to the efficiency and effectiveness of software development processes. Its ability to automate the CI/CD pipeline not only saves time and reduces errors but also ensures that teams can focus on more crucial aspects of development.


Leave your thoughts here...
All Comments
Reply