How to Start a Bullet Journal Without Feeling Overwhelmed
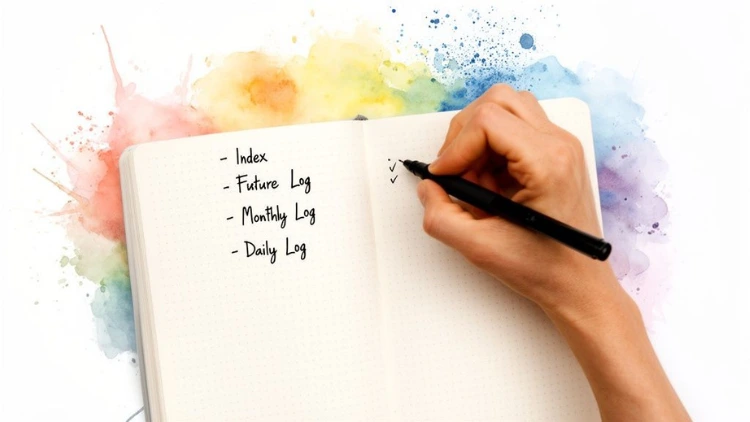
Getting started with a bullet journal is all about creating a straightforward, flexible system for your life. All you really need is a notebook and a pen. The whole method boils down to four key sections: an Index to find your stuff, a Future Log for the big picture, a Monthly Log for what’s ahead, and a Daily Log for the day-to-day grind.
Jump To Section

Earn As You Learn
Earn 25% commission when your network purchase Uplyrn courses or subscribe to our annual membership. It’s the best thing ever. Next to learning,
of course.
Your First Fifteen Minutes with a Bullet Journal
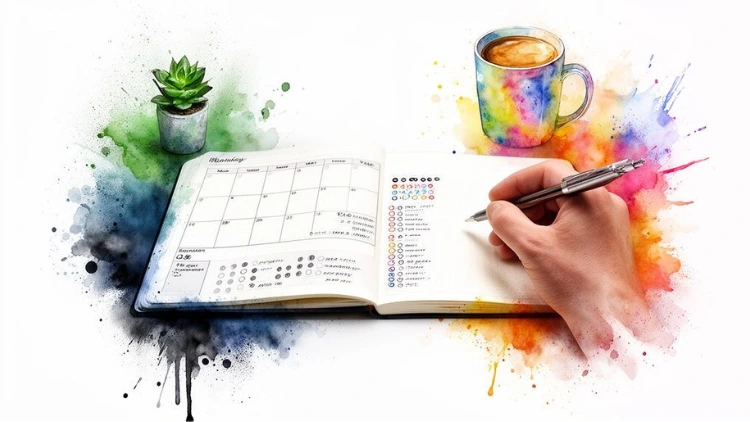
Let's get one thing straight: forget those impossibly artistic spreads you’ve seen all over Pinterest. The real magic of a bullet journal is in its function, not how pretty it is. It’s your personal command center, a way to be more intentional in a world that’s always buzzing.
- An actionable insight here is to grab a notebook you already own and a pen, and just start. Don't wait for the "perfect" supplies.
If you're completely new to the idea of putting pen to paper like this, checking out a comprehensive guide on how to start journaling can give you some great foundational context.
The whole BuJo movement was kicked off by Ryder Carroll, a digital product designer who dropped a simple tutorial back in 2013. It blew up, proving that an old-school notebook could still hold its own against digital apps. By 2015, his original video had over a million views, and a wildly successful Kickstarter campaign proved people were hungry for this analog system.
I will quickly walk you through the four basic building blocks of your journal.
You can see how everything flows together. You start with the index, lay out your year, zoom in on the current month, and then tackle each day as it comes. It's a structured but completely adaptable way to plan.
The goal isn't perfection; it's function. Your journal is a tool to be used, not a piece of art to be admired. Embrace the imperfections as signs of a life being lived and organized.
This no-fuss approach is perfect for busy students and professionals who need a planner that actually works, not another time-sucking hobby. If you’re still trying to wrap your head around the core ideas, we have a course that answers the question, How to Start a Bullet Journal.
Choosing Your Tools and Setting Up the Foundation
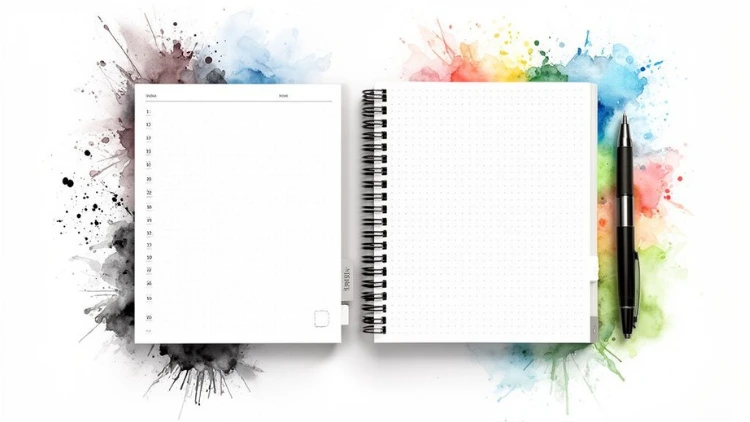
Before you can dive in, you need a couple of things: a notebook and a pen. That’s it. You don't need a fancy, expensive dot-grid journal to start. In fact, a simple spiral notebook you have lying around is perfect. The most important thing is choosing something you won't be afraid to mess up in.
The same goes for your pen. Find one that feels good in your hand and glides smoothly across the page. Whether it’s a fine-tipped gel pen or a trusty ballpoint, comfort is king. The goal is to remove friction so that picking up your journal feels easy and natural, not like a chore.
- For example, if you hate the way a pen smudges, don't use it, even if it's popular. Choose function over fashion.
Creating Your Core Pages
With your notebook and pen ready, it’s time to lay the groundwork. These first few pages are the engine of the bullet journal system, turning a blank book into a powerful organizational tool. Think of it as setting up a clean, organized workspace before a big project.
Here are the first pages you’ll want to create:
- The Index: Leave the first two to four pages completely blank for your Index. This is your table of contents. Whenever you start a new collection—like a "2024 Reading List" on page 52—you'll just jot down "2024 Reading List... 52" in your Index. Now you can find anything in seconds.
- The Future Log: On the next blank spread (two pages facing each other), set up your Future Log. This is your bird's-eye view of the year ahead, perfect for noting birthdays, appointments, and goals that are months away.
- A practical example is to divide each page into three horizontal sections, label them with the upcoming six months (e.g., July, Aug, Sept on the left page; Oct, Nov, Dec on the right), and then log future events like "Mom's Birthday - Oct 12" or "Vacation in Hawaii - Dec 5-12".
Here’s a little tip I learned the hard way: number your first 20-30 pages before you do anything else. It’s a tiny bit of up-front work that saves a ton of time later when you’re quickly adding entries to your Index.
Setting Up Your First Logs
Once your Future Log is in place, flip to the next fresh page for your Monthly Log. Write the current month at the top. On the left-hand page, list all the dates of the month vertically (1, 2, 3...). This creates a calendar for appointments and date-specific events. For example: "15 - Dentist 2PM". Use the right-hand page for your monthly task list or goals, like "Finalize project report" or "Book flights for holiday".
Your Daily Log is the simplest of all. It starts right on the next available line. Just write today's date and start capturing thoughts, tasks, and events as they come up. This simple act of getting things out of your head and onto paper brings immediate clarity, much like the mental release that comes from decluttering - a transformation that will change your life.
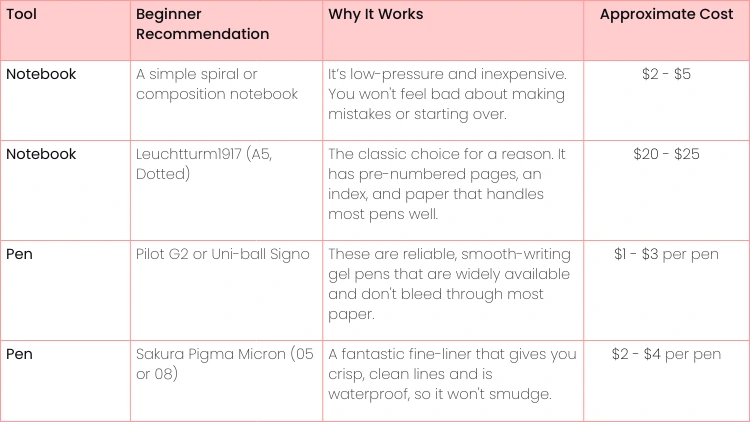
Choosing Your First Bullet Journal Supplies
Getting started with bullet journaling shouldn't be about expensive tools. It's about finding what works for you. Below is a simple breakdown to help you pick your first notebook and pen without getting overwhelmed by all the options out there.
Ultimately, the "best" supplies are the ones you'll actually use. Start simple, and you can always upgrade later once you figure out your personal style.
Designing Your First Monthly and Weekly Layouts
Okay, you've got your core pages set up. Now for the fun part—this is where your bullet journal really starts to feel like yours. We're moving on to designing your first functional layouts, or "spreads".
Don't get caught up in making it a perfect work of art. The goal here is clarity and utility. Your Monthly and Weekly Logs are the real workhorses of the BuJo system.
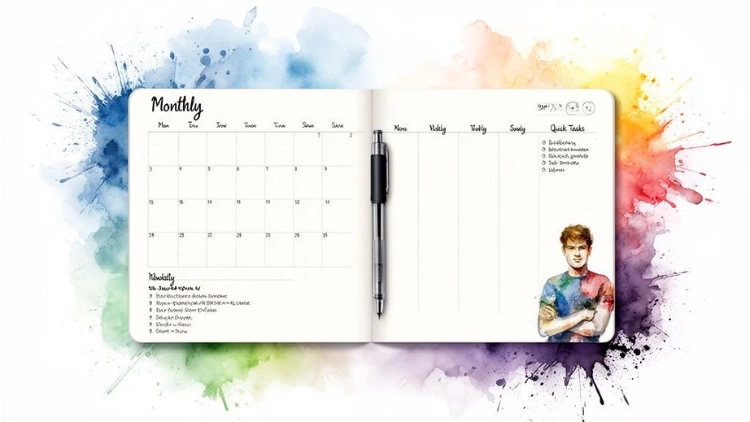
Your First Monthly Log
A simple Monthly Log is the best place to begin. Grab a fresh two-page spread. On one side, sketch out a minimalist calendar view for key dates and appointments. On the other, just create a straightforward task list for the month's main goals.
This dual-page setup is incredibly effective. It gives you a timeline and a to-do list in a single glance.
- For example, your calendar page might have "Dr. Appointment - 15th" and "Project Deadline - 28th". The task page is for the big stuff, like "Finish quarterly report" or "Plan birthday party". This keeps your high-level objectives right where you can see them.
Crafting a Functional Weekly Spread
Your Weekly Spread is where you'll get into the nitty-gritty. This is how you break down those big monthly goals into small, manageable chunks. Again, you don't need an elaborate design; effectiveness is king.
Here are a couple of practical layouts I always recommend trying first:
- The Two-Page Vertical: Dedicate a full two-page spread to the week. Just draw simple vertical columns for Monday through Sunday. This gives you tons of room for daily tasks and notes, making it perfect for students tracking assignments (e.g., "Math HW due", "Study for Bio quiz") or professionals managing daily project milestones ("Draft proposal", "Follow up with client").
- The One-Page Dashboard: If you prefer a quick, at-a-glance view, try using a single page. Divide it into sections: a small box for each day's top three priorities, a master task list for the week, and a little space for random notes or reminders. This is great for focusing on what truly matters each day.
The best layout is the one you actually use. Start with something simple, see how it feels for a week, and don't ever be afraid to ditch it for something else. Your journal should adapt to your life, not the other way around.
Ultimately, your weekly layout is all about organizing your daily to-dos. To build a powerful habit, many people find success by planning the night before. Taking a few minutes to write your list of top 6 to-dos ready for tomorrow can make your mornings incredibly focused and productive.
Making Your Journal Work for You with Custom Collections
Once you've nailed down your daily, weekly, and monthly logs, you get to the really fun part. This is where the bullet journal truly shines: Custom Collections.
So, what is a collection? It's just a dedicated page for anything you want to track, organize, or explore. Think of them as custom-built apps you design right inside your notebook. By creating these dedicated spaces, your journal evolves from a simple planner into a central hub for every moving part of your life, from massive work projects to your secret passion for pottery.
Starting Your First Collections
The best way to start is to ignore the pressure to track everything. Instead, just pick one or two areas of your life that feel a little chaotic right now and build a simple page for each.
Need some ideas? Here are a few practical examples I’ve used myself:
- Project Tracker: For a big project at work, I'll dedicate a spread to list all the key deliverables, deadlines, and who's responsible for what. I usually add a small section for meeting notes or to jot down roadblocks as they come up.
- For example, under a "Website Redesign" collection, you could list tasks like "Finalize wireframes" and "Write home page copy".
- Reading List: This one is simple. I make two columns. On the left, I list books I want to read. Once I finish one, I move it to the right-hand column and give it a quick star rating. Done.
- Meal Planner: A simple grid with the days of the week and slots for breakfast, lunch, and dinner. It's a lifesaver for planning grocery runs and sticking to a budget.
- Gift Ideas: Create a running list of ideas for friends and family throughout the year. When a birthday comes up, you're already prepared.
- For example: "Mom - new gardening gloves", "David - that book on coffee he mentioned".
The collections that stick are the ones that solve a real problem for you. Start with a need, and let the layout grow from there. Your journal is supposed to work for you, not the other way around.
Tracking Habits for Personal Growth
Collections are also fantastic for building better habits. A habit tracker can be as simple as a mini-calendar grid where you check off each day you complete an action, like going for a walk or meditating. There’s something surprisingly motivating about seeing that grid fill up.
- An actionable insight is to start with just one or two habits, like "Drink 8 glasses of water" and "Read 10 pages". This makes the process less intimidating and easier to maintain.
This is where bullet journaling blends task management with a more reflective practice. It's a system that combines productivity with mindfulness, and there's research to back it up. Studies on structured journaling consistently show time-management improvements of 10–30% and reductions in perceived stress by 15–25% over just a few weeks. If you're curious, you can dig deeper into the 9 most popular journaling methods.
You could track your water intake, how many pages you read a day, or even create a space to focus on self-care. A tracker makes your behavior visible, showing you patterns and helping you make intentional changes. A great place to start is to create your own self-care list and dedicate a whole collection to it.
Getting Into the Bullet Journal Groove: Core Techniques
To really get your bullet journal working for you, you need to get the hang of two simple but powerful techniques that drive the whole system: Rapid Logging and Migration. Think of these as the engine under the hood. They’re what make this method more than just a fancy to-do list.
First up is Rapid Logging. This is basically the shorthand you'll use in your journal. It’s a set of simple symbols that let you capture thoughts and tasks in seconds, so you spend less time writing and more time getting things done. To get good at this, it helps to master concise writing; the goal is to jot things down quickly without losing the meaning.
What Rapid Logging Looks Like in Action
Instead of full, drawn-out sentences, you'll use a few key symbols to categorize every entry. This keeps your daily logs super clean and easy to scan at a glance.
Here’s the basic breakdown:
- Task: A simple dot for anything you need to do (e.g., • Email the team). Once complete, you change it to an X.
- Event: An open circle for appointments or scheduled occasions (e.g., ○ Dentist at 3 PM).
- Note: A dash for quick facts, ideas, or observations you don't want to forget (e.g., – Project idea for Q3).
This simple framework immediately brings clarity to your page. You're not just making a random list; you're actively organizing information as it comes to you. If you want to really level up your task management, check out this guide on how to create a to-do list that actually works.
The magic of the bullet journal isn't just in writing things down. It’s in the mindful review process that comes after. This is where Migration steps in, turning your notebook into a genuine tool for intentional living.
Migration is what you do at the end of a day, week, or month. You look back at your open tasks and consciously decide what to do with them.
- A practical example: at the end of the week, you see an unfinished task "• Organize receipts". You can turn the dot into a > symbol, meaning you're "migrating" it, and rewrite it on the next week's task list. Or, if it's no longer important, you can simply strike through it.
This simple act of reflection is what prevents your bullet journal from becoming a messy graveyard of forgotten tasks. It forces you to be honest with yourself and ensures you’re only carrying forward the things that truly matter.
Common Questions About Starting a Bullet Journal
When you’re just learning how to start a bullet journal, it's totally normal for a few worries to pop up. Let's get those sorted out right now so you can jump in with confidence.
Probably the biggest fear I hear is about making a mistake. What if you spell something wrong, or a layout just doesn't work out? The simple answer is: nothing happens. You just cross it out and move on.
- An actionable insight is to embrace the "mess". A used journal is a useful journal. You can even dedicate a "test page" in the back to try out new pens or layouts before committing.
Mistakes are proof that you're actually using your journal, not just keeping it on a shelf looking perfect. The whole point is function, not flawless art.
Do I Need to Be Artistic
Absolutely not. This is a huge misconception, mostly thanks to all the incredibly stylized spreads you see on Instagram and Pinterest. The original bullet journal system, created by Ryder Carroll, is actually super minimalist and built for pure efficiency.
Your journal is first and foremost a tool to organize your life. Concentrate on building a system that actually helps you. If you get the itch to add some creative flair later on, go for it! But for now, a simple pen and some clean lines are all you truly need.
- A practical example of a minimalist setup is using a single black pen and a ruler for all your layouts—no washi tape, stickers, or fancy lettering required.
How Is This Different from a Regular Planner
A standard planner is rigid. It comes with a pre-printed structure that you're forced to work within, whether it fits your life or not. A bullet journal, on the other hand, is a completely blank canvas. You build it to fit your exact needs.
This means your journal can change as your life does. For example, as a student, your weekly spread might be full of class schedules and homework trackers. But during summer break, you can ditch that layout entirely and create collections for travel plans, summer reading lists, and internship applications. A bullet journal just adapts right along with you.
A planner tells you what to do. A bullet journal asks you what you need. It's a dynamic tool that evolves with your priorities, giving you total control over how you organize your life.
This flexibility is the real magic. It lets you bring your work tasks, personal goals, habit trackers, and random notes all together in one place. You’re not stuck with someone else's idea of productivity—you get to build your own.
At Uplyrn, we believe in building skills that empower you in every area of your life. Explore our courses on productivity, personal development, and more to continue your growth journey.


Leave your thoughts here...
All Comments
Reply